
After buying my San Francisco Mission Condo in 2017 I had big plans to renovate the existing bathroom as well as adding a second bathroom. However, as the time passed and I realized how hard a project it would be to manage contractor’s, move out for 2-4 weeks during the construction and then COVID most recently hitting I decided rather than invest $30,000 – $35,000 in a renovation why not update it with a few small updates that will revitalize my already existing bathroom.
For someone who has never done a “Home DIY Project” this was a first for me and something I really enjoyed. For under $500 I was able to truly “update” the bathroom adding a few coats of fresh paint, new floor tiles (that stick so I can always take them off or a potential new owner can remove if they want the original wood floors) and a few small hardware updates.
As you’ll see below you don’t have to spend $30,000 to have a new bathroom just invest wisely in a few small updates that will give the bathroom a fresh new look.
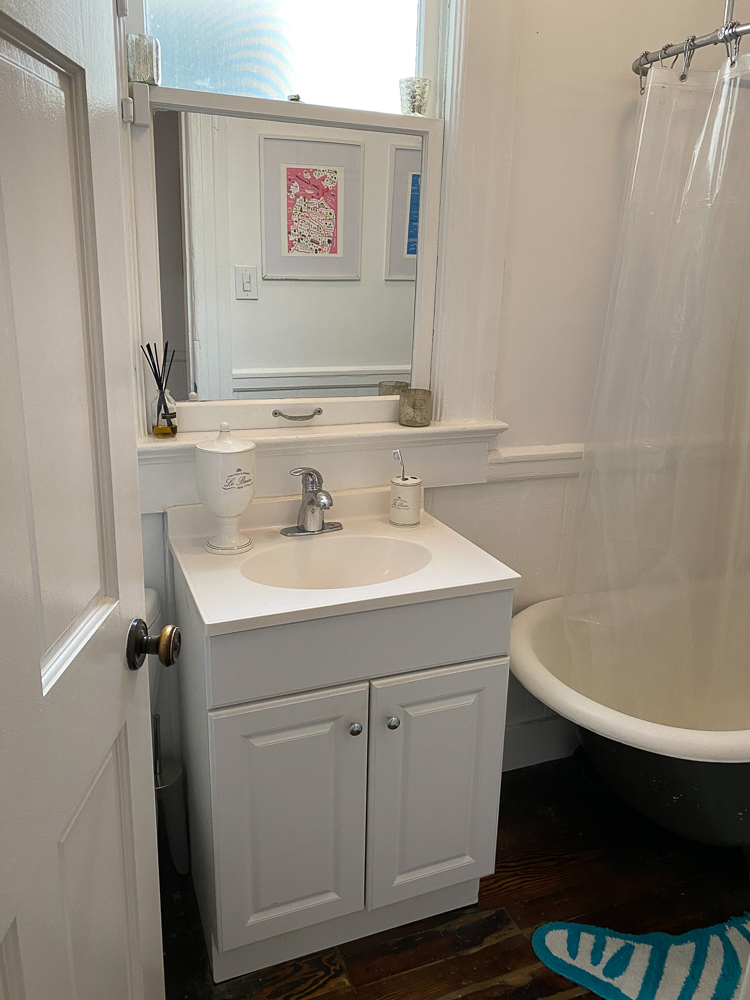
This was what my vanity, bathtub and floor looked like pre-update. It was a very basic vanity probably from Home Depot or something like that. I LOVE the original Claw Foot Tub which was painted grey but could use a fresh coat of paint. Also the entire Condo has gorgeous hard wood floors but the bathroom were quite worn out and rather than refinish them I loved the idea to add a pop of color with some colorful stick on tiles. See more below!
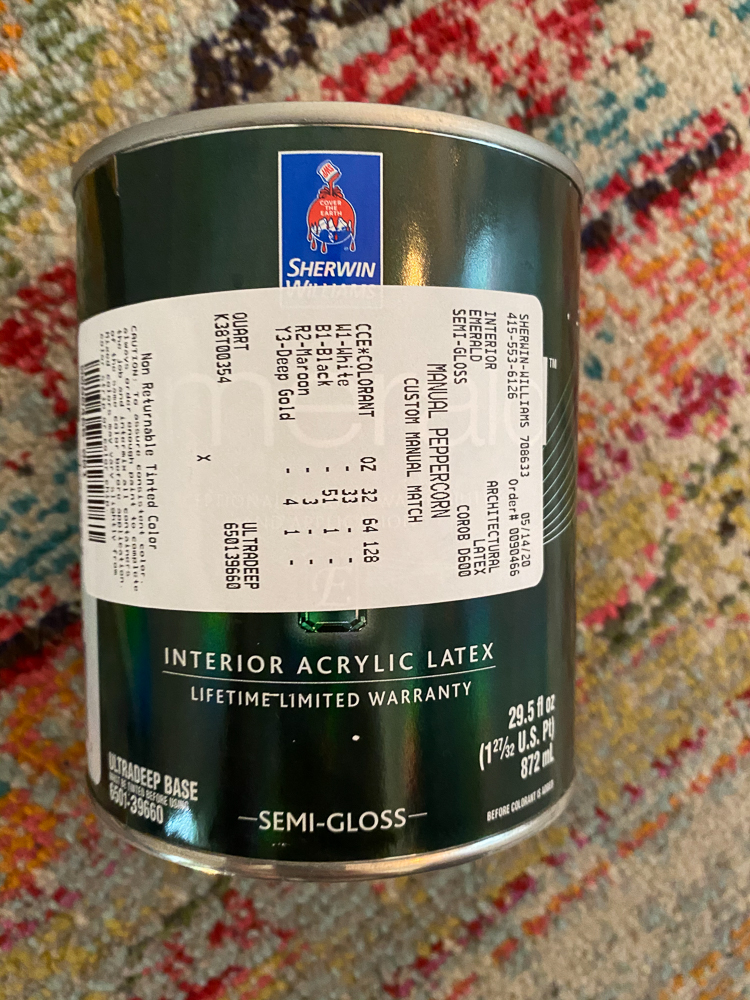
I knew that I wanted a very dark rich grey for the Vanity and to repaint the tub with. I went to Sherwin Williams (which all my Interior Design friends say is the best brand) and they made a custom gray color for me. I also used the semi-gloss which is best for interior surfaces (so I was told). A reminder this was my FIRST DIY Home Project so I wasn’t quite sure what to do….. This paint was around $40.


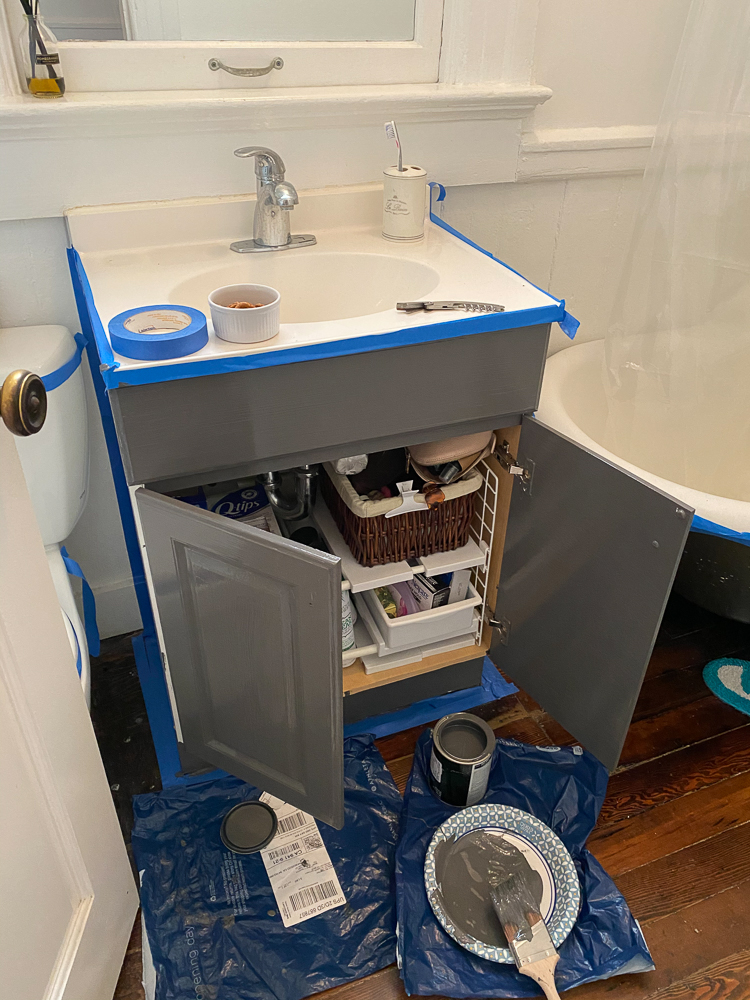
Before pics of the vanity, the floor, and the claw bathtub.
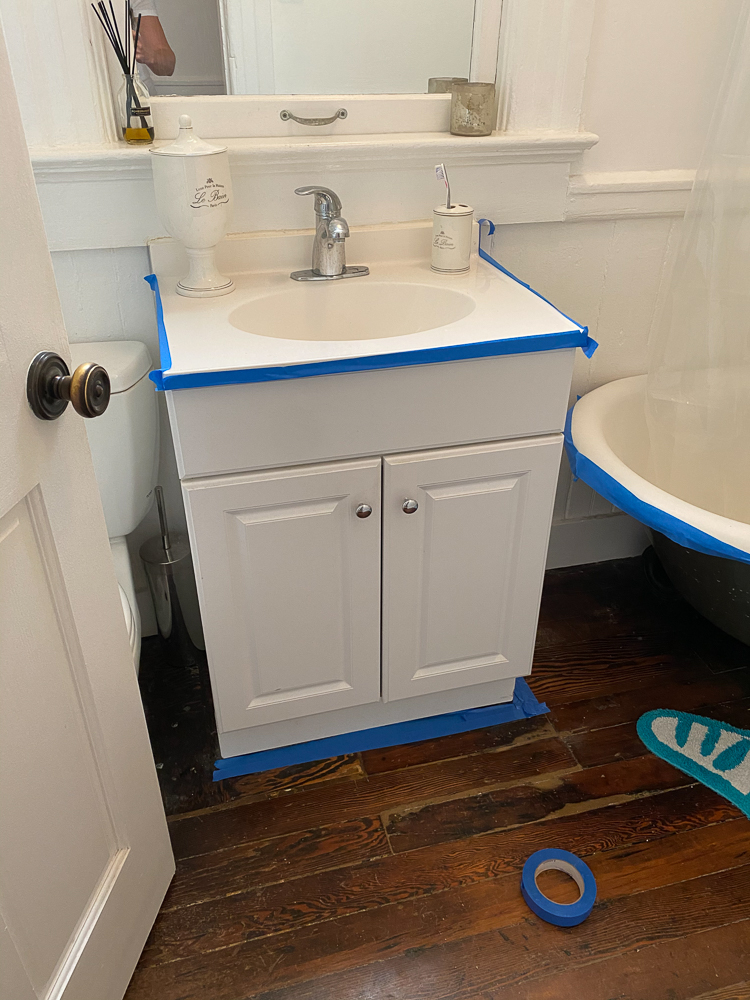
I covered all edges with some blue painters tape and let the fun begin. Overall the taping took about 15 minutes and I painted the vanity in about 20 minutes (the first coat) then let it dry overnight and did the second coat the next day.
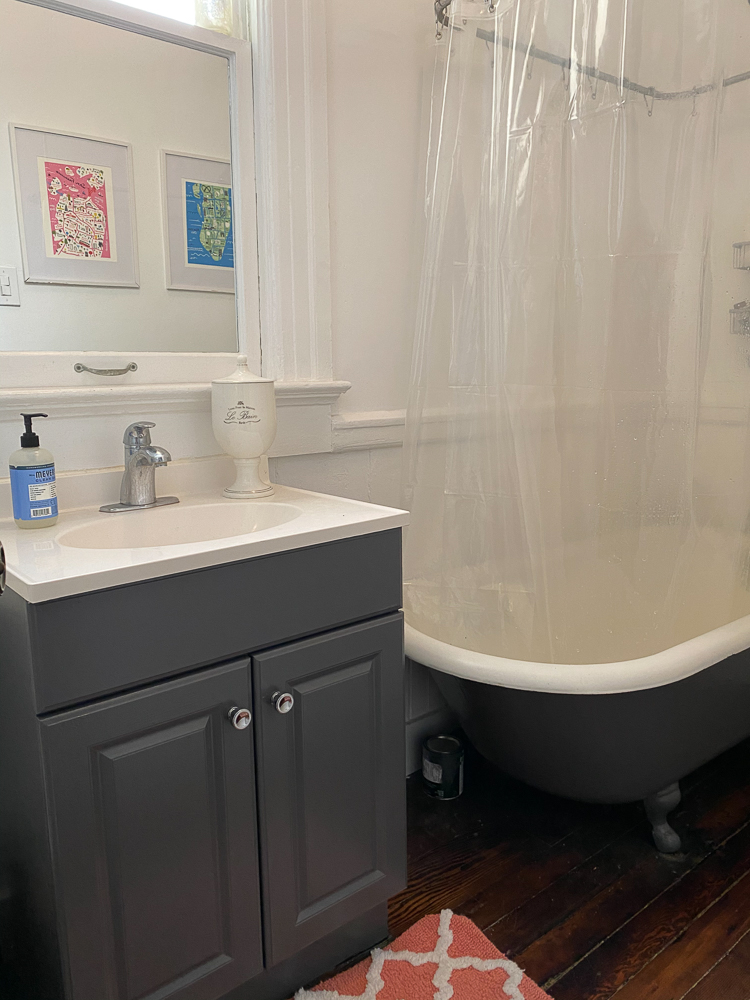
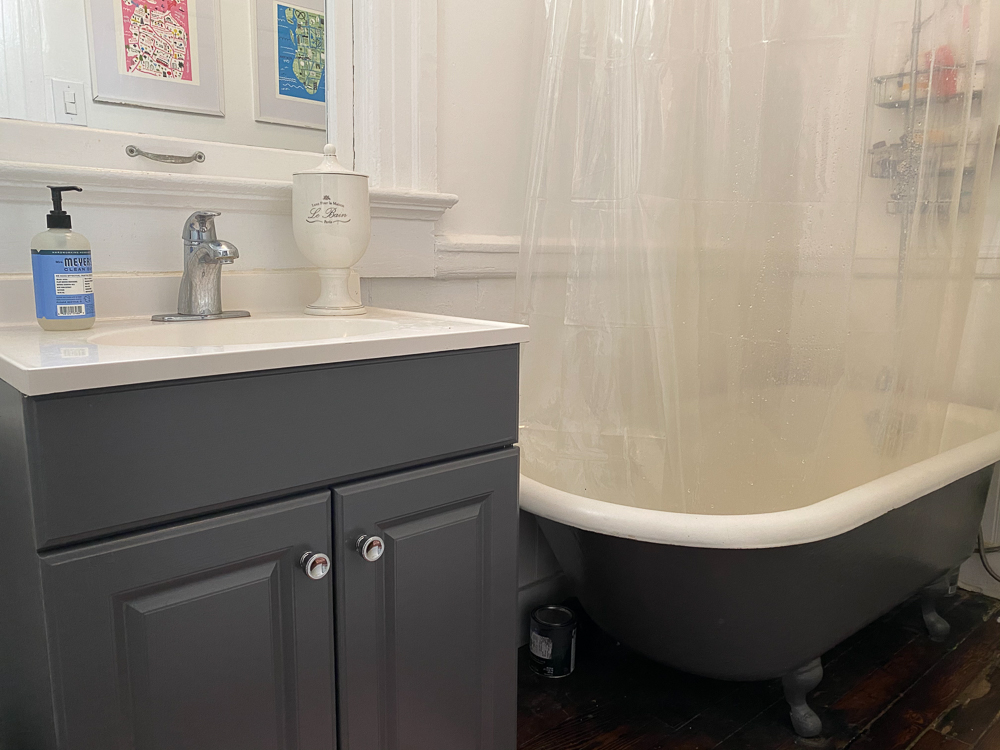
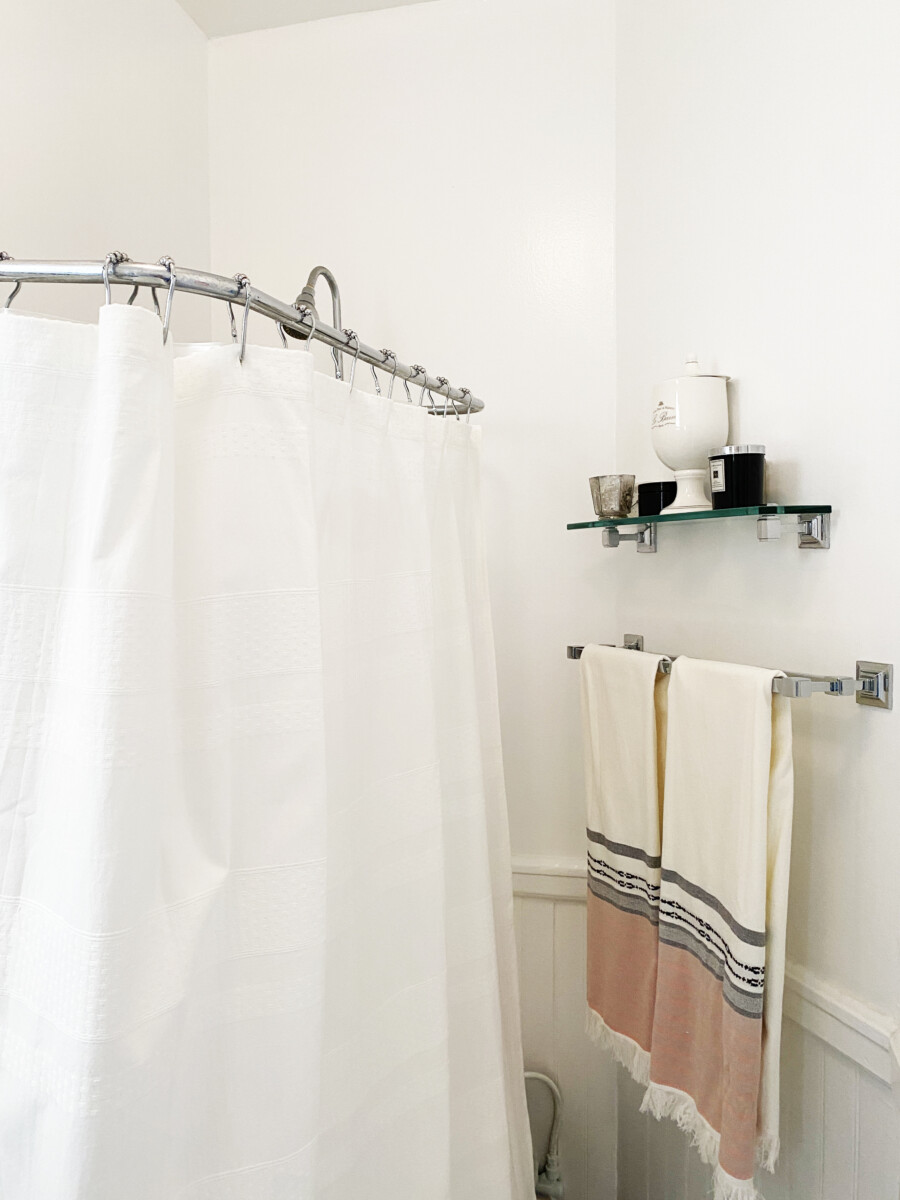
Voila! With just a fresh coat of beautiful rich dark grey paint, I think the vanity and tub look so much better. I also bought the little knobs for the variety from Pottery Barn, they’re available here. They’re called the Polished Nickel Classic Hardware Knobs (set of 2) and are only $5 a set, regularly $16.
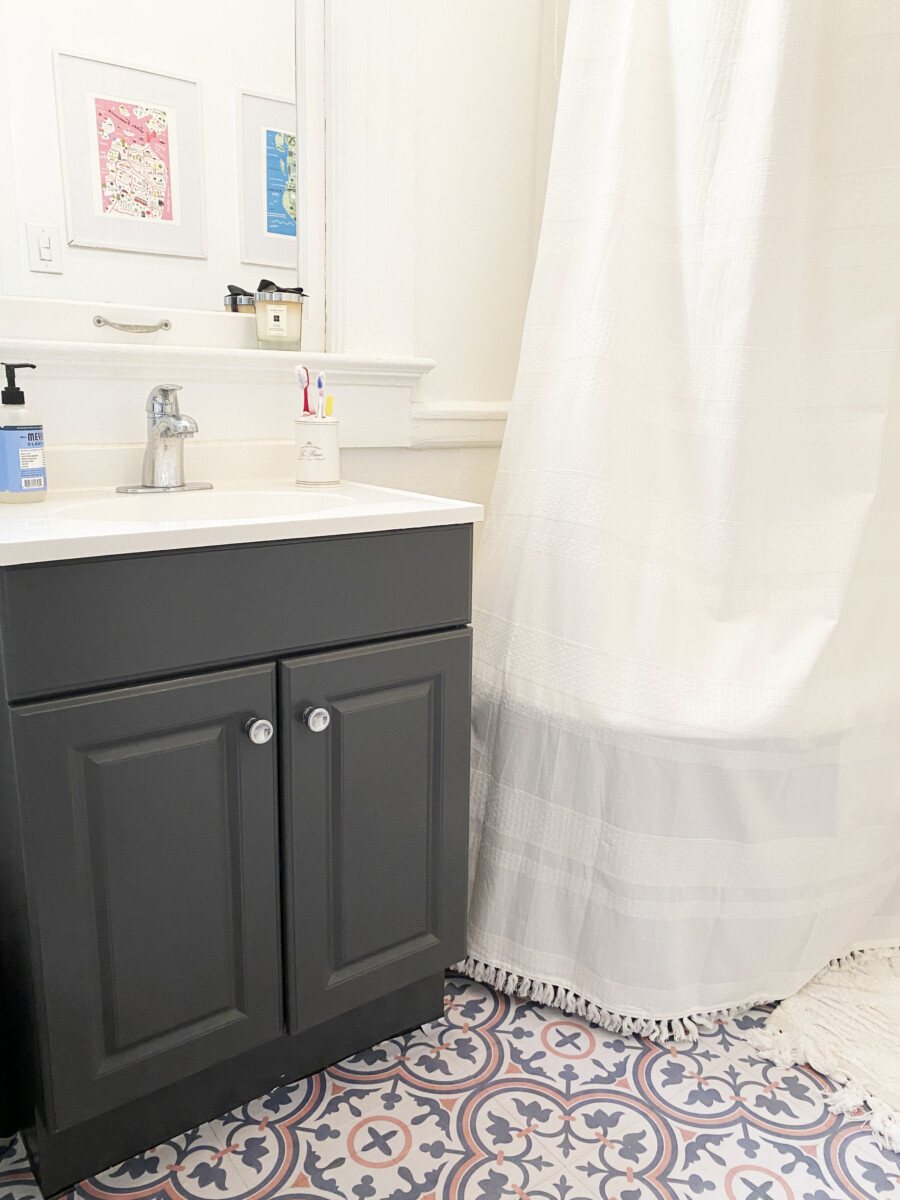
To update the wood floor I decided to go with a great tile that sticks (and is removable). After perusing Etsy for a few days I found these which I loved. In case you didn’t know pink is my favorite color and I think a soft pink and rich grey is such a beautiful combination. This was the most expensive element of the bathroom refresh, they cost about $325. I had to get a few extra sets as when you cut them for the smaller spaces you end up wasting a lot of tiles (since each of the 4 tiles only fits into one spot to keep the pattern consistent). If you love these as much as I do purchase them online at Etsy here.


What do you think?